Showing posts with label Mickey & Friends. Show all posts

Sunday, February 23, 2014

Time for Tea

Okay...so in my opening post I said I would be posting layouts where I managed to fit lots of lots of pictures...and this one might just be the Queen Mother of those pages.

The Tea Cups at Disneyland...every time we go over to ride them, the picture taking goes something like this:  I don't ride, because, frankly, at my age I'm not sure I'd come off alive.  Sadly, I just don't do spinning anymore.  So while everyone else rides, I turn my camera on multi-shot and once the ride starts, I pretty much depress the shutter button and start taking pictures.  My intentions are always to "pick the best and delete the rest" but that rarely happens because I'm bad at making choices.  So when all is said and done, I have anywhere from 20-50 pictures.  Out of that scenario, this page was born:


I fit 28 pictures on this page total.  It took a lot of hard thinking to figure out how to do it, but once I had the idea it was pretty easy to carry out.  The paper is just random stuff from my stash--nothing that was coordinated, I just picked paper that matched the really cute Mad Tea Party stickers I was using.  The ribbon buckles and tags are from Scrapworks, and the ribbon is American Crafts.  It was really surprising how easy it was to coordinate all these pieces even when they weren't sold together originally.


 The filmstrip on both pages was cut using my Mickey and Friends cartridge and I have used this particular piece a LOT to make more pictures fit on a page, or to help tell a story with the photos by putting them in order.


In this case, I use pictures that were in consecutive order for the filmstrips, so it would actually replicate what you might see on a filmstrip.  The pictures are small, so you can't see a lot of detail, but because they are action shots, they are super fun and I just couldn't leave them off--you can see hair flying and funny faces--priceless!


In this picture you can kind of see how the pictures look being put in order...if you looked up and down really fast you might be able to see the cups actually spinning.  Okay... not really, but that's kind of the idea.

So if you've counted the pictures, you might have noticed that they aren't adding up to 28.  That's because unless you're looking, you don't see my "secret element" on this page--the spinning wheel.


That blue frame at the top of page two is actually a hole in the page.  See the circular piece at the top?  That's the wheel behind the little frame.  The frame is cut from chipboard to make it sturdier and covered with paper.  Directly behind the hole is a piece of transparency glued to the back of the page.  I put that there so that as the wheel is turned the pictures glued to the wheel wouldn't get caught on the hole.  The journaling block was printed on another transparency and is held onto the front with the same brad that is holding the wheel in place.

Picture #1

Picture #2

The space between pictures... all the pictures are glued on at an angle so when it turns they are upright.
Notice there is a notch at the top of the wheel.  I put notches in between all the pictures so it can be turned a little easier.  All in all there are five pictures on the wheel.  I hooked the wheel on temporarily so I could turn and trace and turn and trace--that's how I figured out where to glue the photos.

Hopefully the explanations are good--this was really a fun technique to use to get a lot of pictures onto this layout.  I'm sure I will need to use it again in the future since I don't know how to delete.


Monday, February 17, 2014

Tiggerific!

Two "Tails" of Tigger...
Since we go to Disneyland so often and make it a point to always visit all the characters we can find and get photos, we have a LOT of character photos.  Here are two different takes on our visits with Tigger:

Jayme's "Tail"
I love all the characters you find at Pooh Corner in Disneyland, but I think I like Tigger the most! He is so playful with the kids and we always get the cutest pictures with him!This page was one of my all time favorites to scrapbook and one of the pages I am most proud of!
I found this sticker in the Disney section at JoAnns I love the color scheme! I love doing any page with bright colors! I used plain green for my background, the stripe and polka dot is from American Crafts and the orange gingham is from Pebbles.
My title is made up of more of those cute metal letters from Provo Craft and the word Tiggerific I spelled using sticker letters I got from Doodlebug Designs! Which I am happy to say you can still get if you visit the Doodlebug Designs booth at the scrapbook expo! I embellished the page with Doodlebug buttons as well, which you can also still get from the Doodlebug booth! I made a frame for my big Tigger sticker using chipboard which I covered with the striped paper. I usually use the backs of my paper pads for the chipboard, I find that it is the perfect thickness. The swirls at the bottom of the page are spare part paper clip swirls, from Hobby Lobby! 

The Tigger tags on this page are also mounted on chipboard and attached with matching brads.The ribbon on both pages comes from walmart! 
Why doesn't Tigger have any friends? 
Cuz he's always playin with Pooh!

Wendy's "Tail"

I agree that Tigger is one of my favorite characters at Disneyland!  And sometimes he's better than others (I suppose it depends who's in the suit...)  I love it when he's playful, posing, and joking around with the kids.

 My page is from a totally different trip several years later when the kids were much older.  The Tiggers on my page were made with the Cricut Pooh and Friends cartridge--one of my very favorites and most used!  The font for the title was cut with the Mickey & Friends cartridge--another all time favorite.  None of the paper I used came together--it was just loose paper that I had in my stash and I have no idea where it even came from.


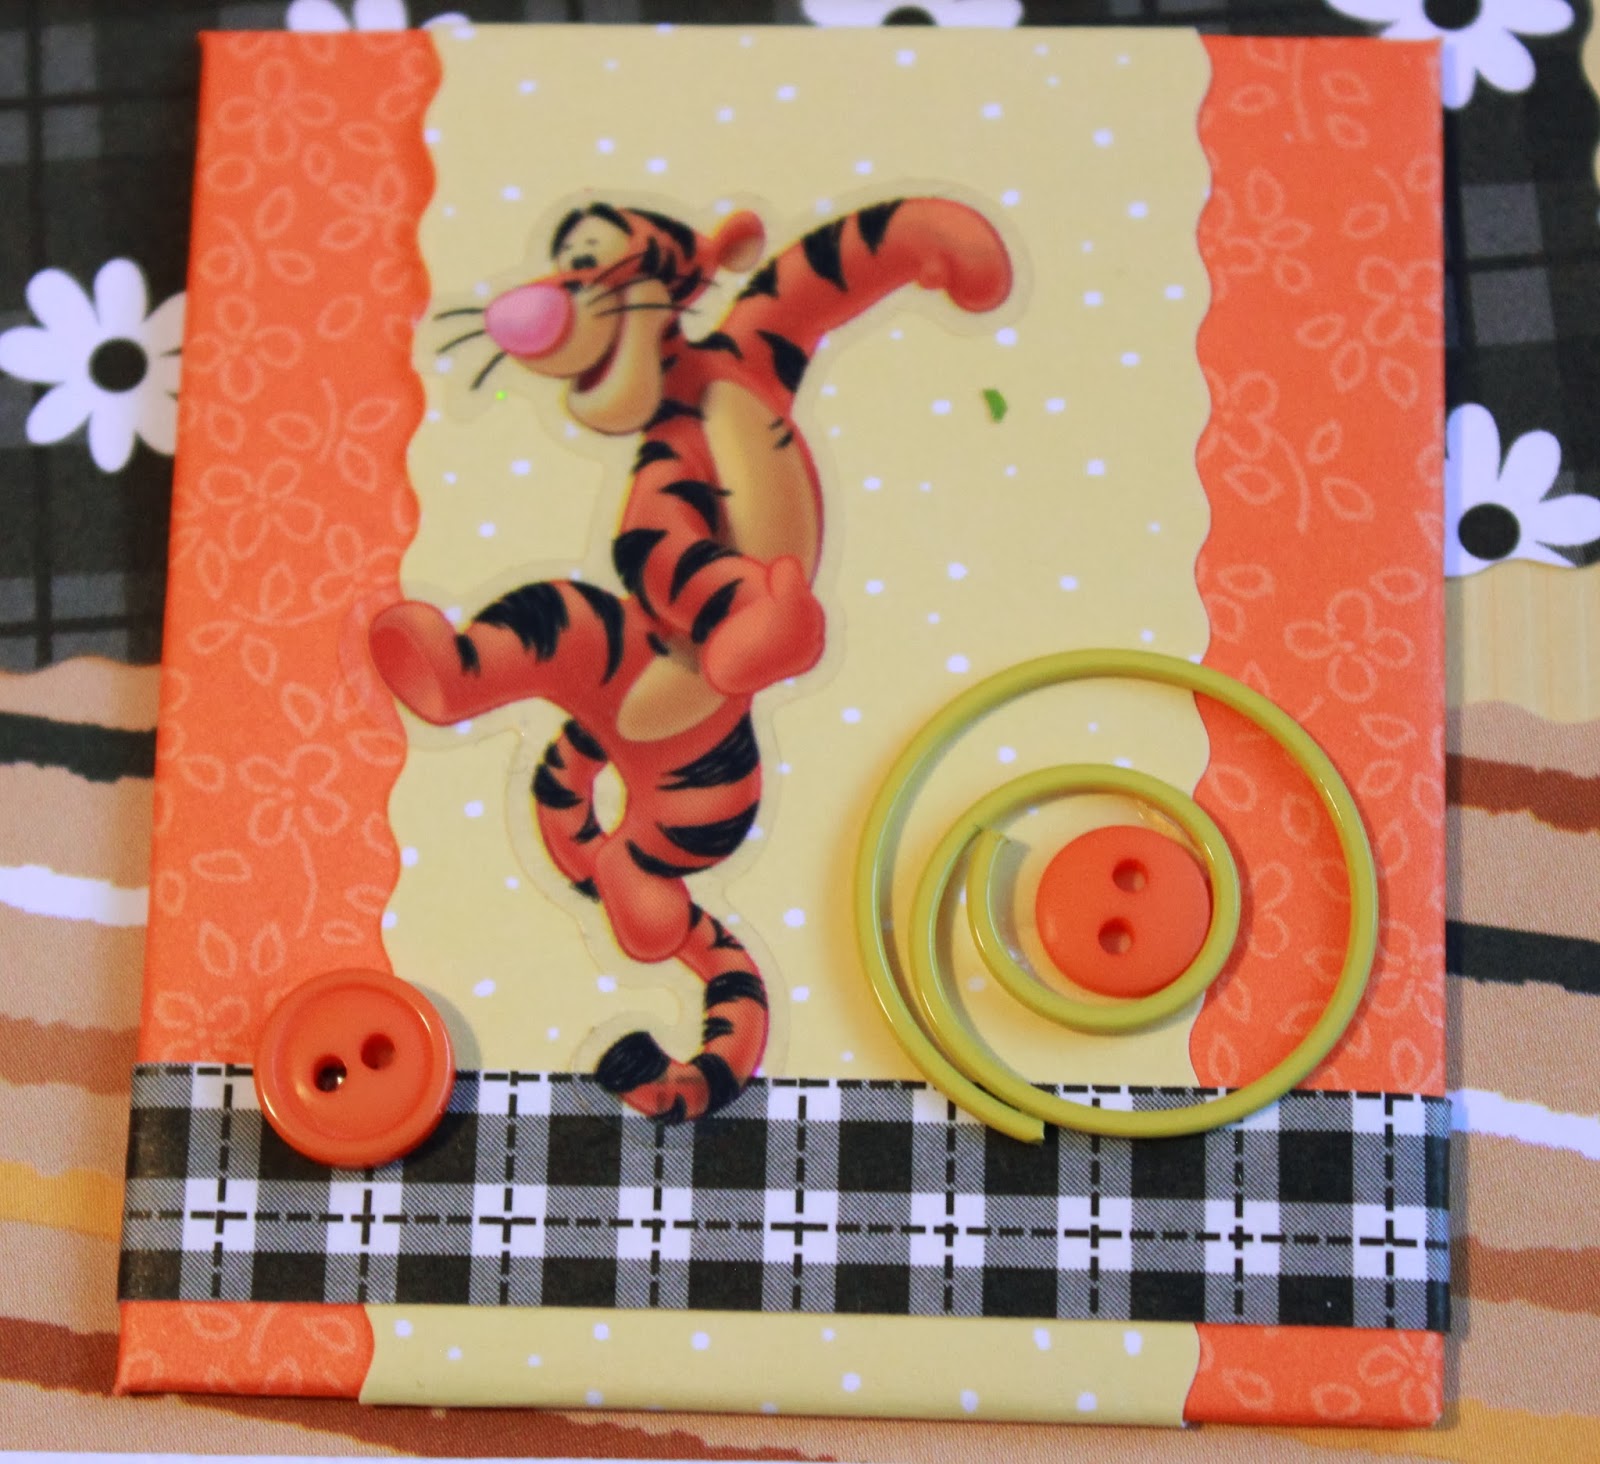
These little guys are called "Twinchies".  Not sure where that name came from, but I saw some online that several people had done and I thought they were an adorable way to make use of very small stickers so they don't get lost on the page.

Since I had some very small stickers that I didn't want to lose on my page, I decided this was the way to go.  I punches some squares with my Sizzix out of chipboard and covered them with some of the patterned paper from the page.  Then I just decorated them with buttons, brads, ribbon, etc as though they were a mini page all their own.  Because they are made from chipboard, they really stand out on the page and give it some dimension.

I love Twinchies!  Now that I know about this fun idea, I no longer hesitate to buy small stickers or other small embellishments because I know I can make good use of them.  And you can make them in any shape--although I haven't tried round ones I think they would be awesome!

So there is my Tigger "tail".  This last year at Disneyland I had to bribe my kids to get pictures taken with Pooh and friends...apparently they are way too old and mature for such nonsense as posing with enormous stuffed animals (yet strangely not too mature to beg for treats like fudge and Tigger Tails at the shop in Pooh Corner...go figure).  I guess I must look forward to the day of grandkids now, so I can continue to scrapbook all these fun characters.